

Repairing and replacing worn shingles can be a simple DIY job that can be accomplished quite easily. It’s important that you know a few things before you get started. If you aren’t afraid of going onto your roof after a storm or bad weather, then you can consider this a DIY project. If you are scared of heights, you may want to consider getting someone to help you, or you need to hire someone to do it for you.
Getting Started
If you are in good shape, comfortable with using tools, and don’t mind scrambling around on top of the roof, then this is the article for you. We’ll discuss some advanced roofing tools and techniques you can try for simple DIY repair jobs.
Replacing a damaged shingle or two usually only requires about five minutes. This is provide you have the right tools for the job. An important thing to remember is that you should know how to correctly align theshingles. You’ll also need to be securely positioned on your roof, so that your tools are within easy reach.
Remember that safety is a very important factor. The last thing you need is for you or your tools to go sliding off the roof!
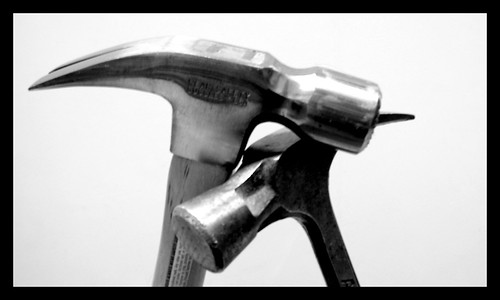
The right roofing tools for the job.
You should have a flat prying bar to pry old shingles, a razor knife, hammer, roofing nails, and shingle adhesive. These tools will be necessary to remove pieces of the old shingle, cut the new shingle, and then securely apply it.
Once you have securely positioned yourself near the repair site, with all of your roofing tools in easy reach, it’s time to proceed.
Getting The Job Done
First start by finding the shingle that needs replacement. Now count up two rows and lift the shingle tab of the shingle that is two rows above the damaged shingle. When you have the right shingle use your hammer and remove the nails securing it.
Now use your flat pry bar, to lift the shingle up and hold it. When the shingle is raised, use your hammer to pop out the roofing nails surrounding the damaged shingle piece. Go slowly and be careful not to tear the shingle. It should be easy to remove. Once the shingle is removed simply replace it with a new shingle and nail it firmly into position.
The last roofing tool you’ll need is your adhesive. Use your roofing adhesive to seal the replacement shingle firmly in place. Now you’re free to move on to the next damaged shingle and replace it.
Keep in mind to realize when you are out of your comfort zone. Don’t be too stubborn to call in a professional for more advanced roofing jobs. These experts will have access to expert tools like pneumatic nail guns, and lifts.
These tools will allow lifting entire rows of shingles at once, and making more complicated repairs. So if your roof has been greatly damaged, it will be best to call in an expert. Don’t risk injury to yourself or unnecessary damage to your property. A roofing expert will be able to take care of more advanced repairs and insure it’s all done safely.